The crocheted vest with raglan technique is very simple to work and is perfect for beginners of this art. About raglan technique
I've discussed about raglan technique in a few previous tutorials, but I came back to it because there are still many questions about how it works.
In today's tutorial I will present a type of rectangular raglan calculated in such a way that the vest does not "pull" neither in front, nor in the back and of course neither near the sleeves.
Why this anatomical raglan?
As we know from the anatomy, the human body, regardless of age (including babies), is more pronounced towards the front, than the back, especially in women. That is why, when creating an garment, we must think about this.
Since in the raglan technique we crochet from top to down, you will have to calculate the stitches taking into account the body shape and of course the measures of the person who will wear that item.
You can take as an example any garment made to size, even a simple shirt and you will see that the back is less wide than the front.
In today's tutorial you will receive details for raglan crocheted vest, for an 11 year old girl, skinny.
What's different about this raglan from a classic one?
- dividing the number of stitches according to the body shape.
- the way to work this raglan so that the vest does not pull at the neck.
- how should we continued the raglan after we reached the necessary width of the shoulder, to create the ream of the sleeve.
Video tutorial- crocheted vest- raglan
How to crochet - step by step description - crocheted vest - raglan technique
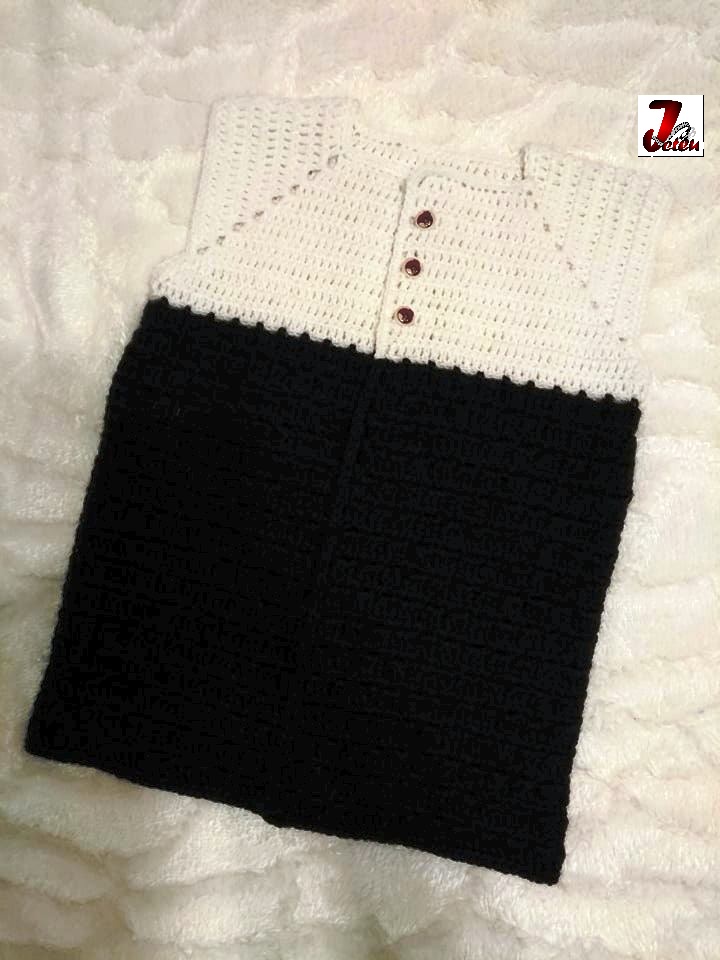
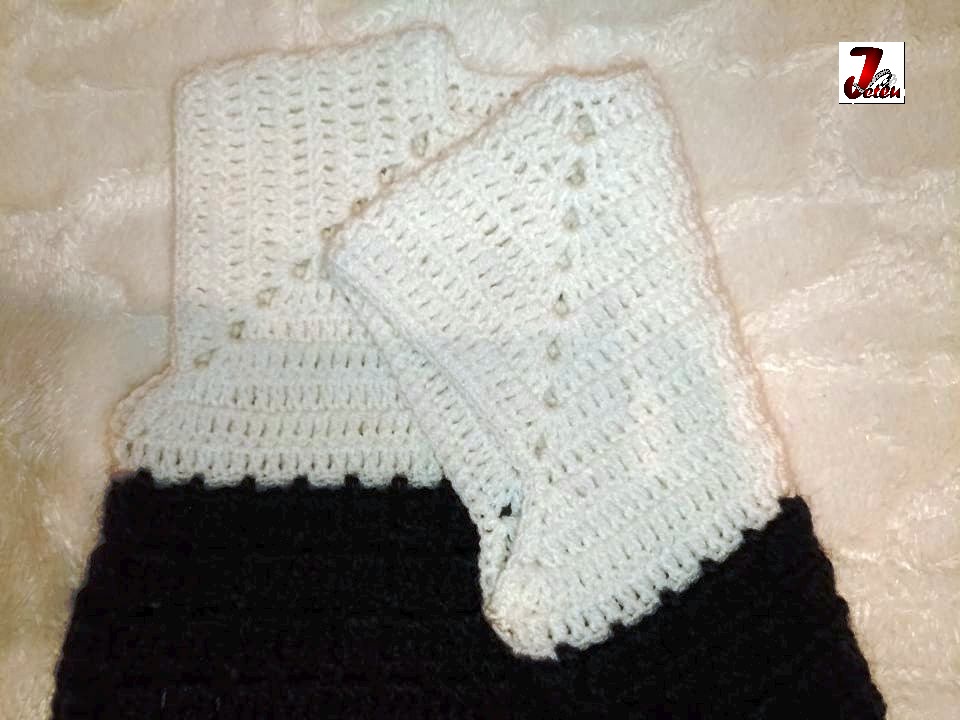
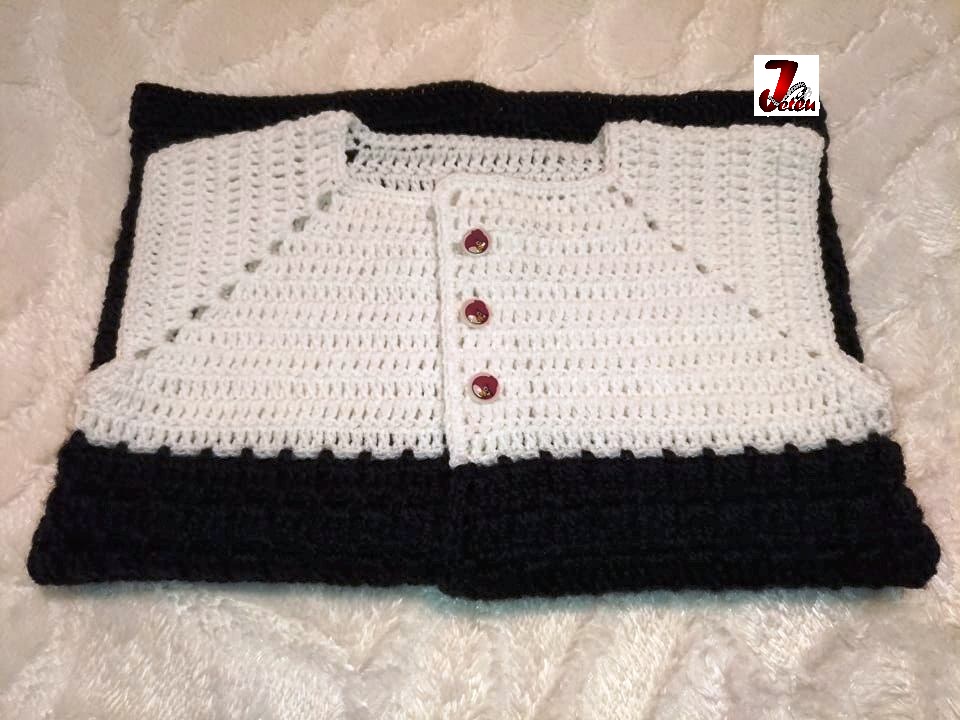
It's a vest for girls - 11 years old, 152cm high, skinny.
I crocheted with Alize Lana klasik white thread, black thread, acrylic wool (no brand) and 3mm crochet, in total approx. 150 gr yarn.
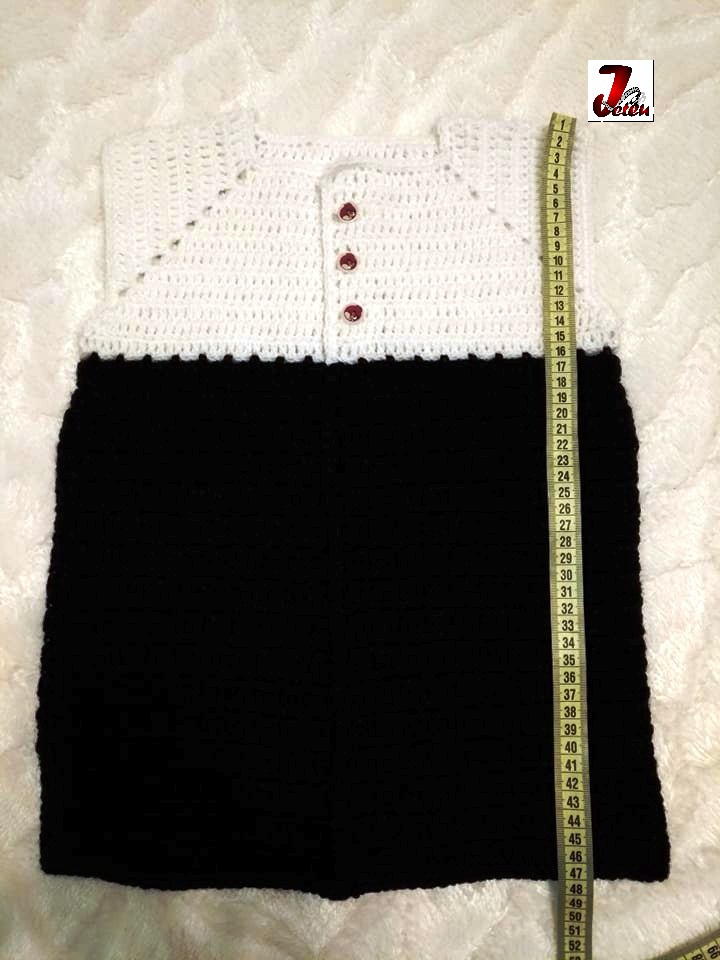
At the end the vest has a length of 47cm and a width of 35cm.

We start with the white thread - 70 chain chains thus calculated;
- 14 stitches each half of the front side, so 28 in total for the front.
- 10 stitches for each sleeve.
- 20 stitches for the back side.
- 2 ch to start the row.
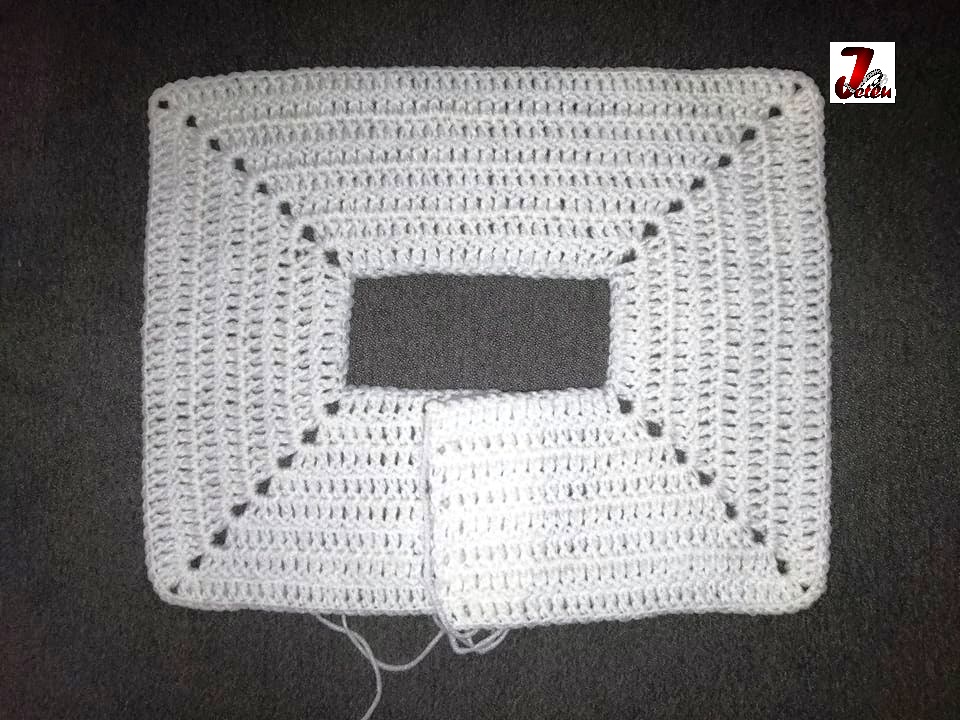
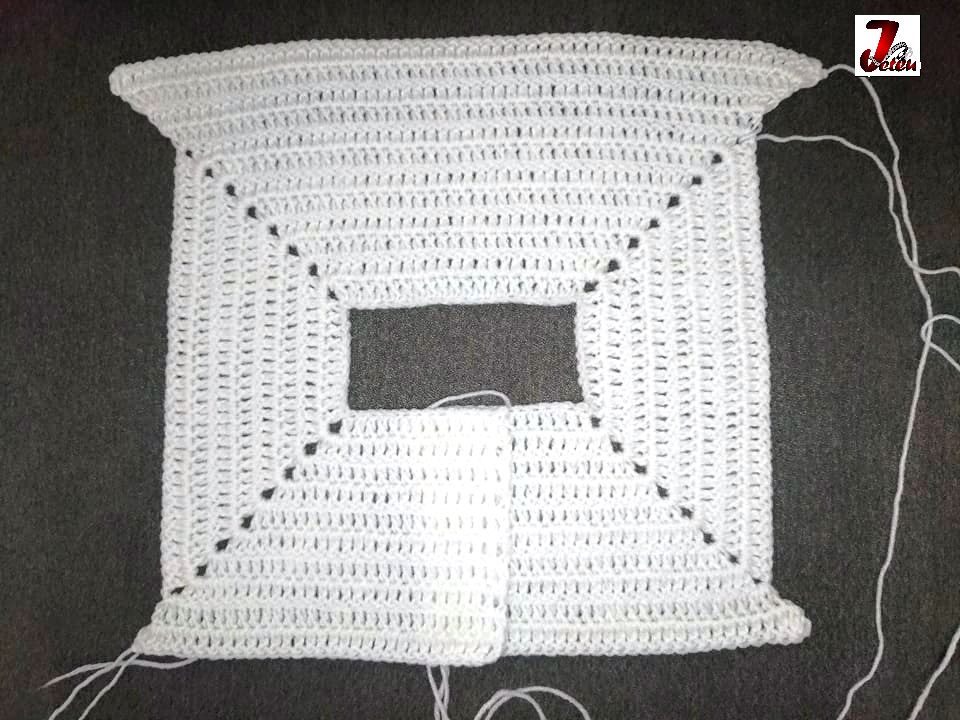
Row 1: we work 1 dc in each ch, starting from the 4th and we are already starting to separate for raglan working 2 chains after the first 14 dc (here we also include the 3 stitches at the beginning of the row) , then after another 10, after 20, after 10.
Row 2; we start the row with 3 chain stitches, then we work 1 dc in each ch from the previous row, and in the space formed by the chain stitches we work one group consisting of: 2dc, 2 ch, 2 dc.
Row 3-8: we continue to work dc and groups on the 4 rays.
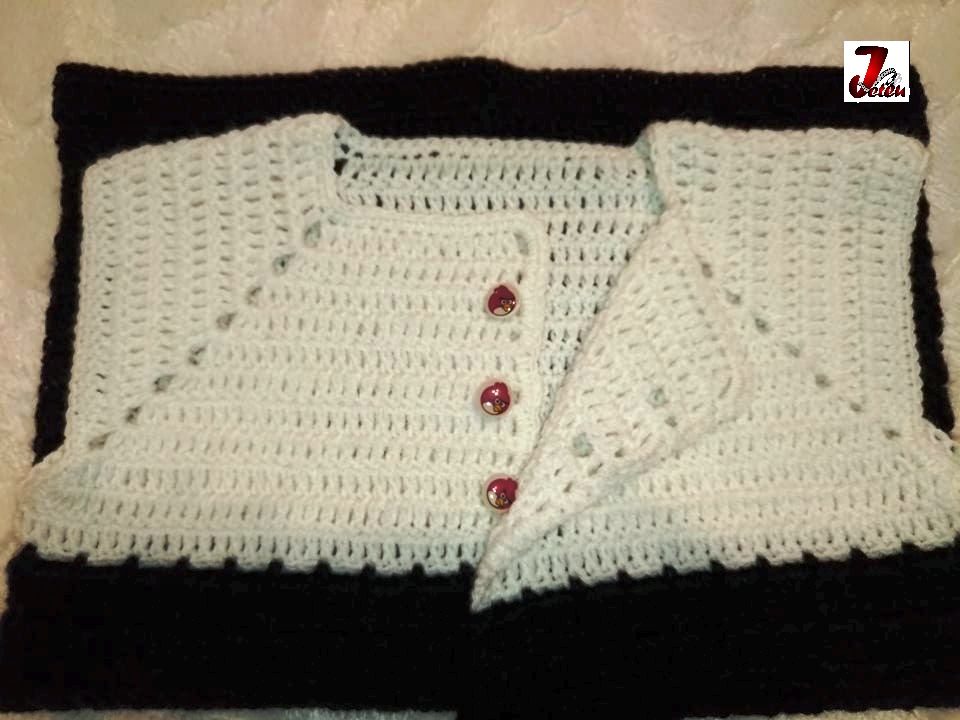
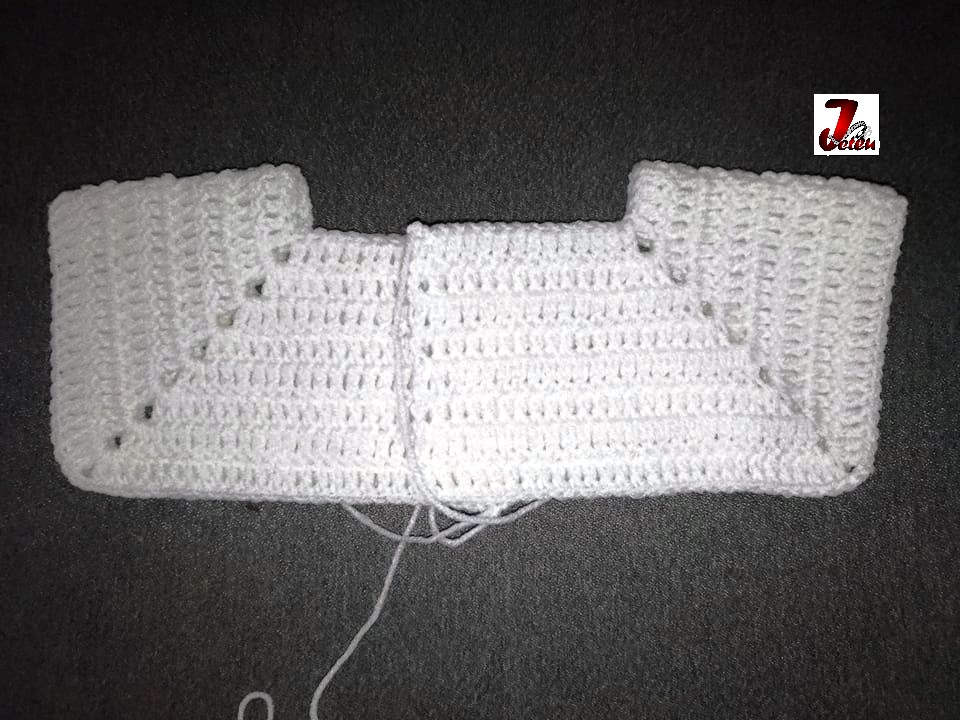
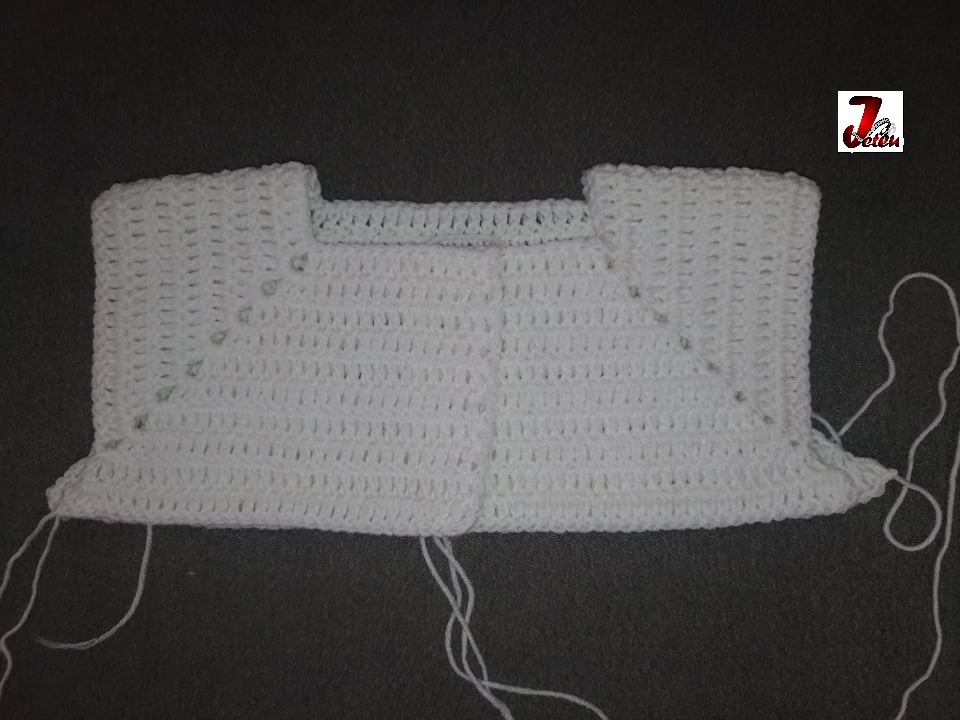
Starting with row 9 we worked separately the front and the back, to create the cleavage on the front and to tighten the back edge to the base of the neck.
Row 9-12 (only the back): we crocheted back 1dc in each stitch, but we respect the raglan, increasing at each beginning and end by row 2dc.
Row 9-10 (the two parts of front): we crochet 1dc in each stitch, but we respect the raglan, increasing at each beginning and end of row 2dc. Careful!!! On the side where it has to be the edge we do not add stitches.
Row 11 (front) / 13 (back): we unite the three parts working 1 row with dc without increasing on the rays.
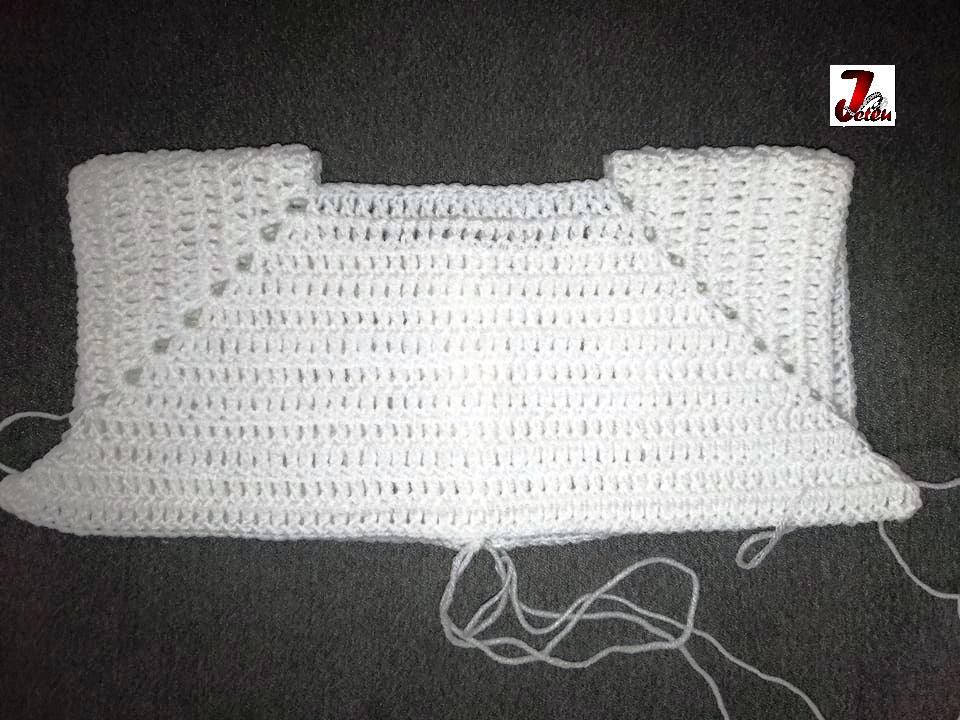
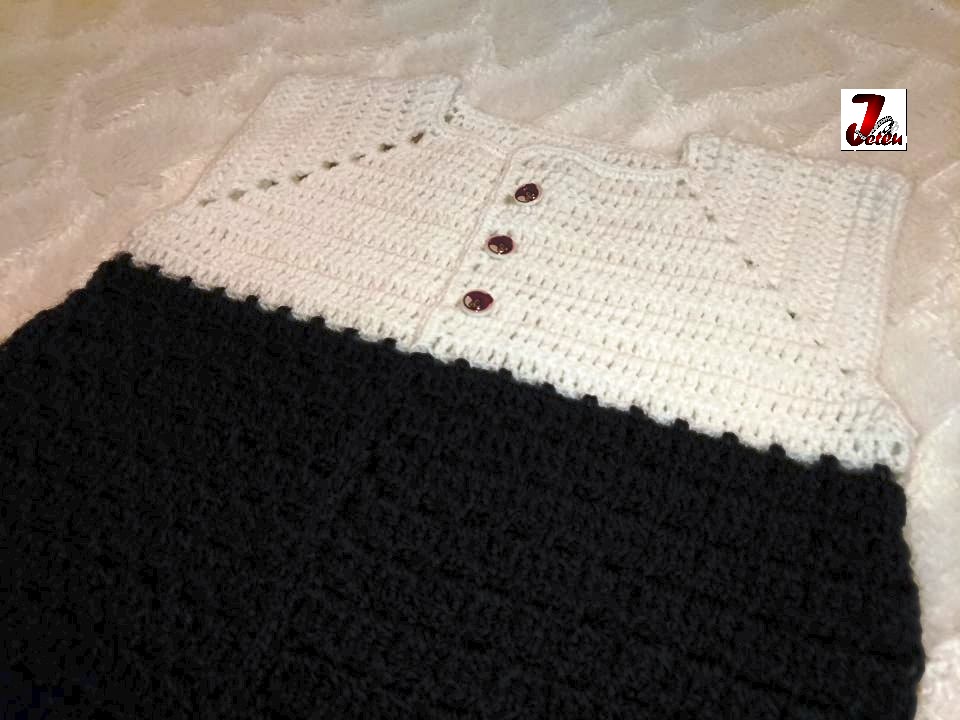
Next we change the threading and we will have to work the pattern:
Row 1: 1 chain stitch, 1 sc in the first stitch, 2 chain stitches, we skipped over 2 sts and we worked 1 sc in the next stitch, 2 chain stitches, we skipped 2 sts and we repeat until the end of the row.
Row 2: 3 chain stitches and we work in each loop created by the 2 chain stitches, 3 dc. We finish the row with 1 dc.
Repeat row 1 and 2 to the desired length. I worked 32 rows in total.
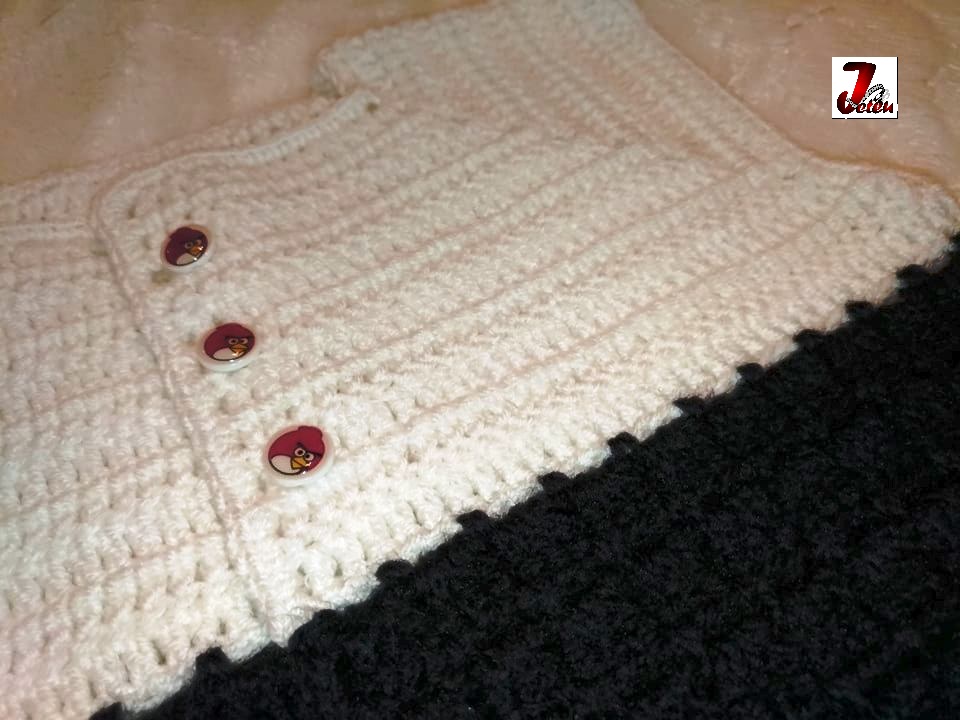
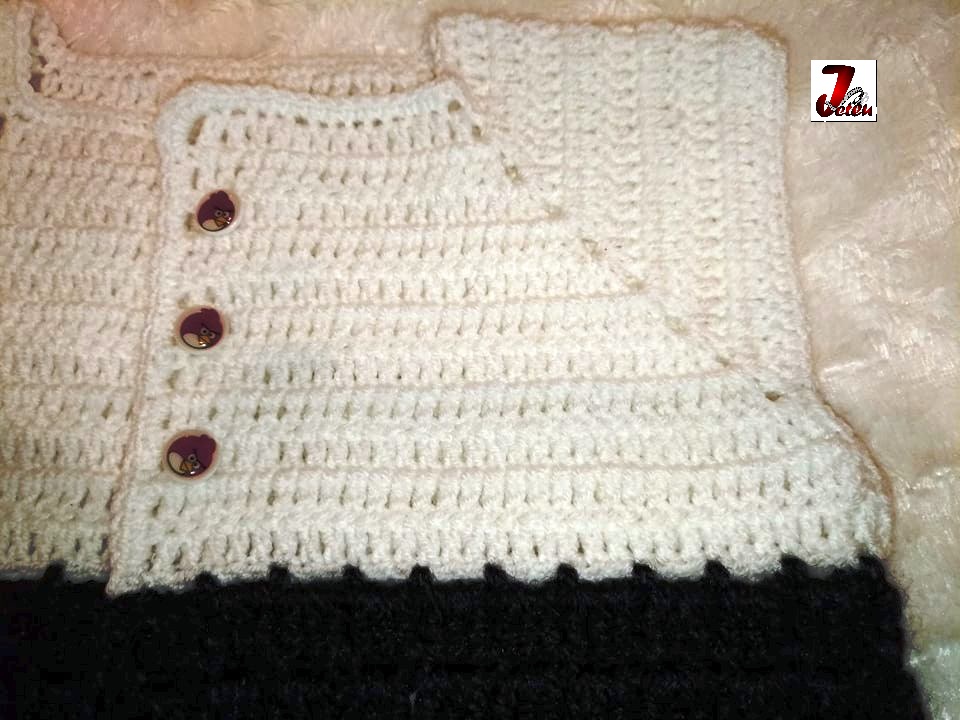
Finishing:
- we crochet a row with sc around the edges, sleeves and collar.
- sew all remaining threads through the fabric so that it does not fall apart.
- sew 3 buttons.
Pay close attention to how you crochet the rows so as to follow the order of the row, whether they were worked on the front or the back.
Have fun crocheting!


Be First to Comment